Lesson 15
by Mary Ann Boysen
It's hard to write about using watercolor brushes because these techniques are quite visual. So I've put together a few videos for you to watch so that my explanations become clearer.
As always, let me know if there is anything that you'd like me to add to the site and I've be happy to write a page on it. |
Related topics:
Brush types
Youtube videos |
Let's say that you just love your #10 Round brush. This is a most versatile brush and many painters use it from beginning to end when painting.
ROUND BRUSH VIDEO
In Round Brushes the ferrule (the metal part that holds the bristles) is round. These brushes must come to a very fine point when dampened and should hold that point during the painting process; or easily bounce back to a point. Because it comes to a very fine point, it can do very fine detail work if you use it lightly so that the point doesn't spread.
The Round brush is one of the first brushes you will learn to use. It comes in many sizes but the #10 is a great size for most paintings (unless they are HUGE!). It applies washes to your paper with great ease. You can load several colors on it at once and apply them all at once to your paper. It is versatile.
This round brush can also be used for "scumbling" techniques when needing to create texture in a portion of your painting.
The point of the brush can be squeezed out and spread to create a type of fan shape for painting the tops of trees, or applying dry brush textures to the painting.
THE FLAT BRUSH VIDEO
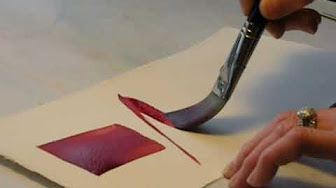
The other brush that is popular, and probably the most versatile is the FLAT brush. It comes in a variety of types. There is the Hake, which has very soft bristles and is great for initial washes on large surfaces.
Of course, the round brush comes in many styles by many manufacturers. Check out my watercolor brush types page to see them all.
The most used flat brush is the Aquarelle, which can be either sable or synthetic. My preference is synthetic or a mixture of sable and synthetic. Its shape allows it to have a very flat, sharp edge which can be used for making thin lines by just applying the edge to the paper, leaving only a line of color.
It can make broad statements by using the flat side to paint a rectangle or wide swatch of color in one stroke. It can be used like a calligraphic pen, which leaves a broad and narrow line as you weave it around the paper.
Because of its very sharp flat shape, there are points on either side for fine work. Many famous artists use the flat brush exclusively, like Frank Webb. His colorful broad shapes define a scene in a flash!
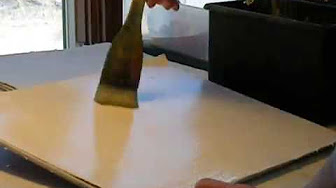
For textures, you need to know how to use a drybrush technique. It should look like this:
DRYBRUSH VIDEO
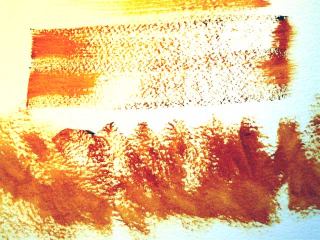
It is also important in some of the detail in a painting. See this video
This is a fond name for a way to create texture. It requires a little drybrush, but in a different way.
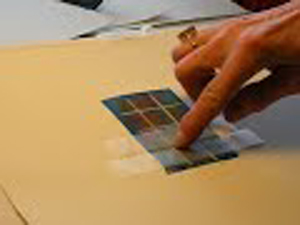
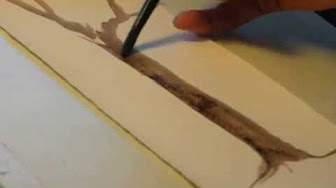
We all make mistakes when painting, or we need to scrub out a highlight that will add to the impact of our painting. In this demo, I will show you how to lift out sharp edged highlights by using magic transparent tape, Scotch brand 810....the frosted kind. DO NOT USE THE CLEAR KIND! It sticks much to tight and the removal will tear into your paper fiber.
Then there are the different types of "washes",...not the laundry type!
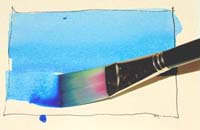
The FLAT WASH is one of the first ones you should learn. It is applied with a flat brush and the brush is dipped into the wash color before each pass, so that the color value remains the same throughout the page. It helps to tilt the paper so that the color flows down the page without making stripes. Also, make sure the brush lightly touches the bottom of the previous stroke so that the will flow together smoothly.
Next is the GRADED WASH
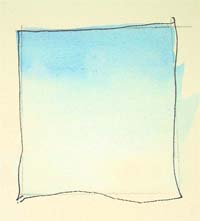

This is also done with a flat brush (preferably). After the first swipe of color across the page, dip the brush in water (don't swish it around!) to allow the color to become lighter. Make the second swipe across the page, then dip it in water again. By the time you get to the bottom of the page, your wash should be almost clear.
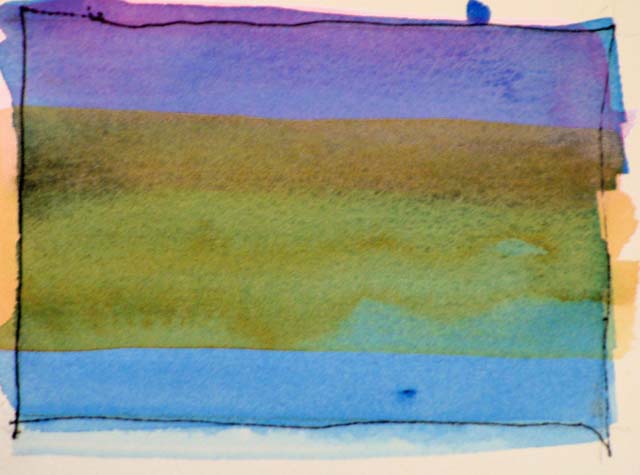
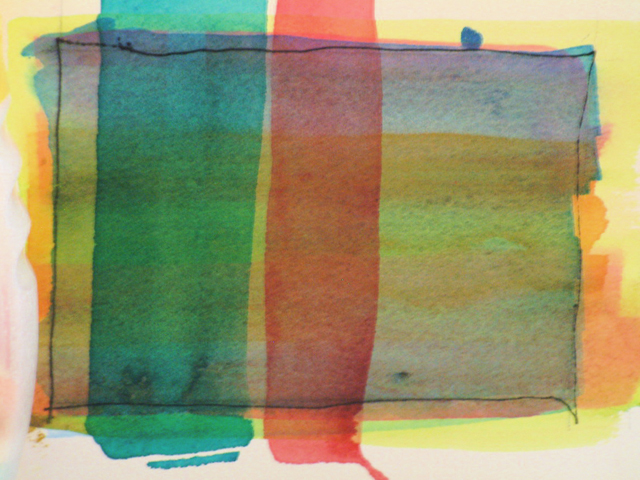
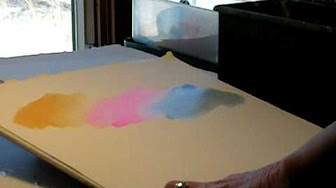
Then you should practice GLAZING with colors.
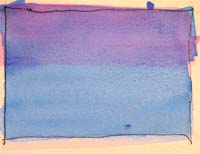 Start with two colors here. Start with two colors here.
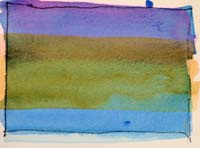 Add the third color. Add the third color.
 Then you can glaze colors over the others to see what colors will do when they are laid over each other. When doing this step, make sure the first horizontal glazes are dry. Then you can glaze colors over the others to see what colors will do when they are laid over each other. When doing this step, make sure the first horizontal glazes are dry.
<<Return to Lesson 14: Mixing Colors
Advance to Less 16: Clouds>>
Watercolor Painting Tips
Return to Watercolor Lessons
Return to Watercolor Techniques
You can also see the 20 videos of mine on Youtube.
|